
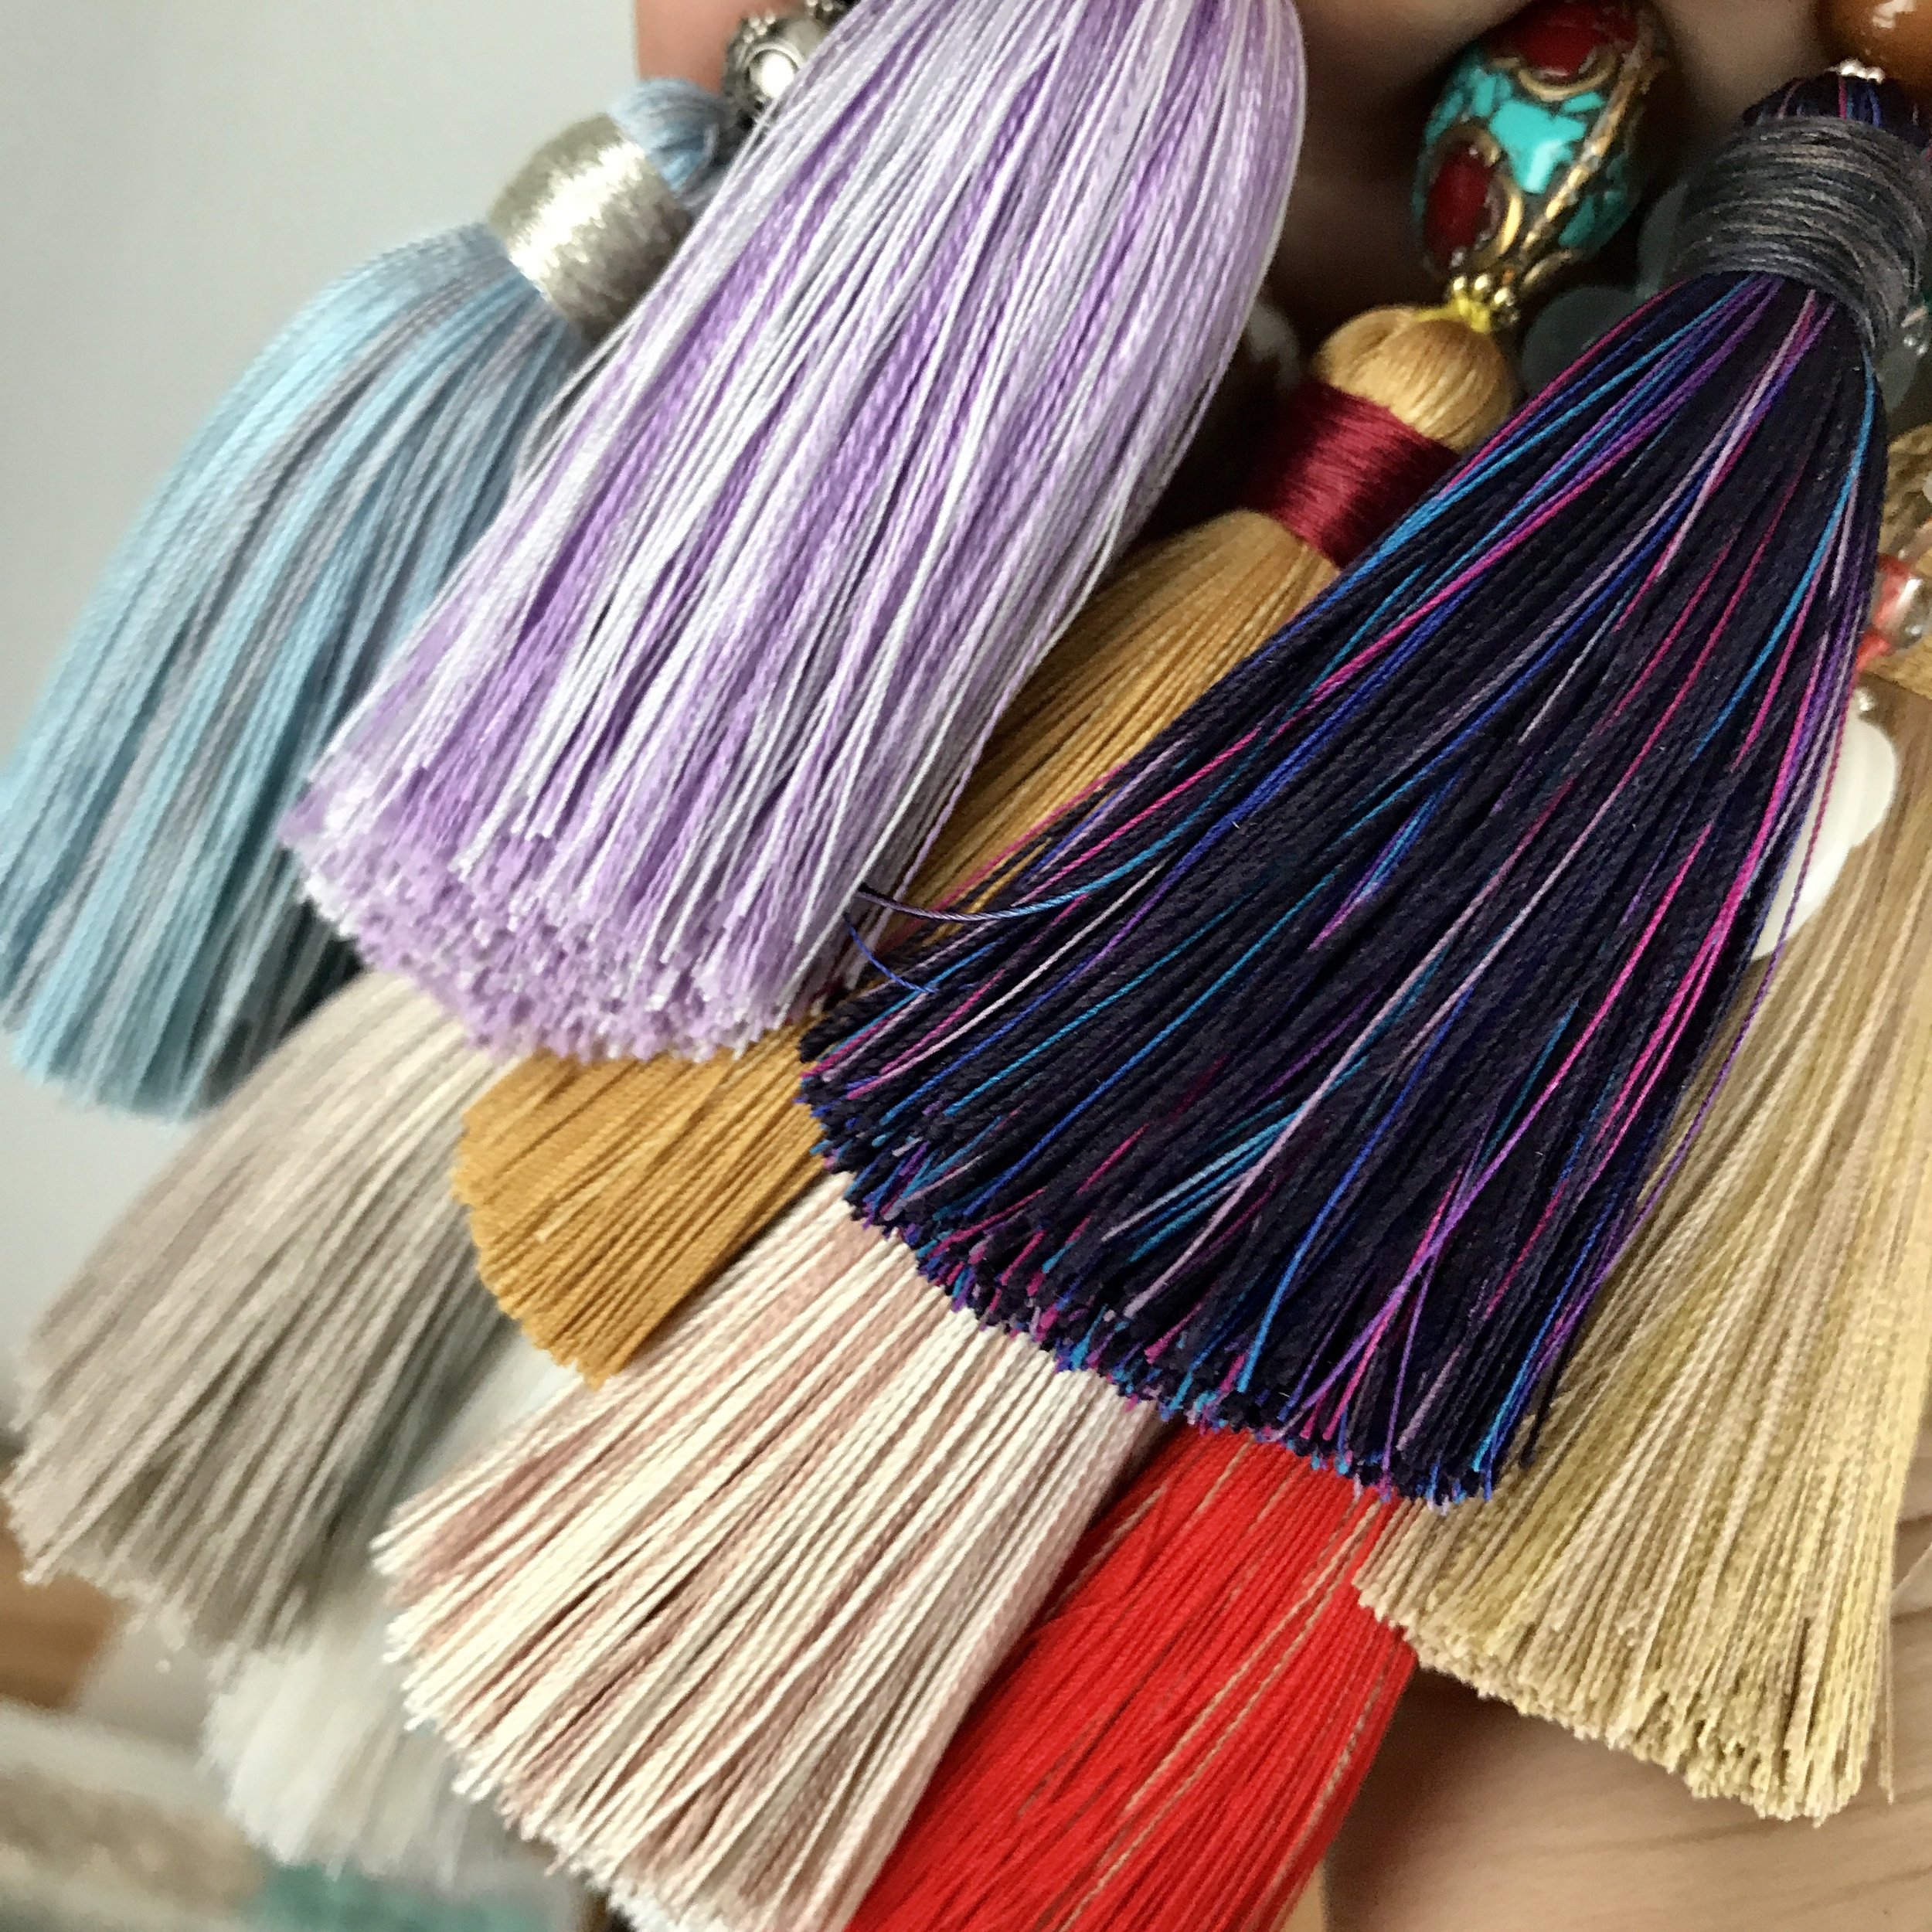
Finished tassels on malas.
I get so many questions regarding my tassels that I can't even begin to write them all down. Some days, I will get a half a dozen questions to start my day! I am honored that so many people love my tassels, and with this article I hope to shed some light on what I know about making them. First of all - yes, I make them myself. I tried to use premade tassels on probably the first 2-3 malas I crafted, and I couldn't find a way to attach them to the mala so that I was satisfied that it would be secure. I actually found little to no detailed information on attaching a premade tassel. But there was a lot of information about crafting your own, so I decided to start making and incorporating my own tassels. Now that I've been making malas for quite some time, I know enough about various techniques that I could attach a premade if I wanted to. But I have grown to love the look of a handmade tassel. In truth, I prefer an imperfect, rustic handmade tassel to a perfect premade one any day. It just adds that extra energy and love of the maker in the piece.
To share as much of my knowledge of as I can, I am providing this tutorial on how I personally make tassels. Please keep in mind that this is only how I do it, and that there may be other techniques out there. I did not learn from a person teaching me. Everything I learned about making malas and making tassels, I either learned from Sensei Google, or by trial and error. I am relentless in my search when I want to learn something, so I have dug deep to find the answers that I needed. I will try to address some of the common questions as I go.

A word about thread.
A detailed discussion about thread weight and the various types of thread is beyond the scope of this tutorial. This is part of my thread stash. As you can see, there is an assortment of types and sizes. While I like to look for slightly thicker weight thread (50w-buttonhole), I will use all types. I routinely use silk, rayon and cotton, but I also have used other materials. Sari silk ribbon is another popular type of tassel. Anything that you can wind and cut, you can use to make a tassel. Experiment and find your favorites. It's about what you feel comfortable working with and getting the right feel for the tassels that you want to make!
The following is a photo heavy tutorial on tassel making. I tried to take photos at all the steps in the creation of one of my tassels. I hope it is clear to follow and that you may gain some insight on how to make one, along with a few of my personal tips that may be helpful, even if you are a seasoned tassel maker. This tutorial also favors lefties, as I am one. So, take note if you are a righty and hold things the opposite way!
1.
These are my trusty tassel winders (1). Fancy, right? So, the first step is to find something that you are going to use to wind your thread upon. My longer tassels are about the length of the long edge of a credit card. I use the other cardboard piece for medium length tassels and I have a couple other sizes that I have made for smaller ones. There are tassel making devices and winders on the market that you can buy. Just find what works for you! I am so used to these trusty pieces that I haven't upgraded, as I am quite attached to them.
2.
3.
After choosing your thread, start winding (2) the thread around your chosen device (1) until you are satisfied with the thickness of your tassel (3). You can stop occasionally and check the thickness until it feels full enough to your liking, or you can eyeball it. You will get a feel for what you like. I have been asked how many times around the card I will wind the thread. This is entirely dependent on the type and thickness of the thread, the length of the tassel, and the look that you are trying to achieve. Different spools may be marked with the same weight, but they may not be the same thickness between brands. A small change in thread thickness will really change what you need for a tassel, so I like to just go by eyeballing it. Another note on thread choice, silk and rayon will make a flowy tassel that moves. Cotton threads will stick to each other, so it will be more of a "solid" stiffer piece. I use both depending on what I want to achieve.
4.
5.
Once I am done winding the tassel, I slip my thumb between the card and the tassel thread (4). I usually have pieces of cord lying around from prior projects and I actually save them up for use in my tassel making. I take one of these cord pieces and slip it between my thread bundle and the cord, then pull it to the top of the bundle holding it securely (5).
6.
7.
Now, it is time to slip the thread bundle off of the card. I do this by gripping both sides and slowly moving it towards the edge (6). I make sure I have a firm grip on the cord that I slipped into the bundle (7), because this will be what keeps things together when you pull off the bundle. Go slow and try not to let the threads get too much out of place.
8.
9.
Once the bundle slips off the card, I take a lot of care not to pull on any of the threads or allow the bundle to get messy. I hold it up gently by the cording that I slipped in earlier, which should be right in the middle of your thread bundle (8). Looking down the side of the bundle, slip your scissors in between the threads, right down the middle. I use the cord as a divider and a guide to know where I am placing the blade of the scissors. Then, holding tight at the cord end, pull the scissors to the opposite end (9), straighten the bundle as much as possible, and clip clean through the ends.

A word about scissors.
I'm very particular about the scissors I use and I have a collection of them. For my tassels, I probably use about four different scissors in the course of their creation. The key is to have sharp scissors that don't kink your thread, and are the right size to accomplish the job. Once they become dull, I move them out of rotation and use them for general purpose (or sharpen them). I have been asked what brand of scissors I use. This photo says it all. I am fickle, and like to mix things up. As long as they are sharp, any brand will do the job.
10.
11.
12.
Holding the bundle securely (10), I lay the middle of the bundle onto my mala cord ends (11). Again, taking care not to move the threads out of place, I remove the piece of cord that was holding the bundle and then tie the mala cord around the bundle to secure it (12). I use a double knot. Just to be clear; if you will incorporate your tassel directly into your mala, make the mala with the cords finishing down at the guru end.
If you want to make a tassel that is separate, simply follow these same steps, except tie it onto a loose piece of cording. This will leave you with a tassel you can attach anywhere. You could even loop a small closed ring onto the cord before closing it to have a ring to attach the tassel with. There are many more techniques that are beyond the scope of this tutorial that are available online.
13.
14.
After tying off the cords, I clip the extra cording (13) and then add a bit of glue to secure the knot (14).
15.
16.
17.
Now, I pick up the tassel thread bundle (15) and, making sure the mala cord ends are tucked inside, squeeze the top together to shape the head of the tassel (16). At this point, if I am using a silky thread, I like to tie a cord around the thread bundle to keep them in place (17) so I can use my hands for other things without worrying about the bundle getting all out of place.
18.
19.
20.
To make the wrap, I take a long length of the thread or cord that I have chosen as the wrap material; then at one end, make a small turn, like a fishhook (18). I lay the top of the loop onto my tassel head (19) and hold it securely with my non-dominant hand so that I have one short and one long end pointing towards the bottom of the tassel (20).
21.
22.
Continuing to hold the loop securely onto the head of the tassel, I start to wind the long end of the wrap around the tassel (21) using my dominant hand. I wrap upward, toward the top of the tassel, trying to keep the wraps even and snug enough that it will keep your tassel intact but not so tight that I can't pull the thread though at the next step. At the end of the long length of the thread, there will be one end at the bottom of the wrap (the original short end) and one end at the top of the wrap (22).
23.
24.
I take the top end of the thread and pass it through the loop that I was holding in place (23). Then holding that end of thread along the original lie of the wrap, I pull the bottom thread to start to close the loop (24).
25.
26.
As the loop starts to get smaller (25), it will disappear under the wrap. At this point, be careful not to pull the loop all the way through the wrap as this will cause the wrap to unravel and undo all your work and you will need to rewrap it. Once the loop disappears into the wrap, you will have the two ends of the wrap thread on either side (26).
27.
28.
I take these two ends of the wrap thread and gently tug on them (27) to secure the wrap. You are essentially creating a knot under the wrap threads. Then, clip the thread ends short, leaving a little tail (28).
29.
30.
Using fine tipped tweezers (29). I tuck these ends under the wrap thread (30). This step is important because, if the threads are left long on the outside, the whole wrap can become undone if they are accidentally pulled.
31.
32.
33.
Now, the tassel is almost done! The next few steps are the same steps (that I also describe on the mala care section of my webpage) that you can take with your finished tassels at home to groom them if they get out of shape, kinked or need a little trimming.
First, if you wrapped your tassel with a piece of cord, take it off (32), your tassel is secure at this point. Then using a small amount of water, I wet my fingers and get the fibers of the tassel slightly wet (32) while stroking in a downward fashion towards the cut end of the tassel. You can see from the photos that the tassel is not soaked and it's only my fingertips that have water on them. You just want it to have a little bit of dampness so that when you start holding and grooming the tassel, the threads will stay down and straighten out (33).
34.
35.
36.
Taking one of my larger set of shears, I make a single cut across the tassel end (34) to get a relatively straight cut at the bottom (35). Then, using one of the smaller scissors for detail work, I trim the ends straight (36).
That's it! The tassel is finished!
Photos for above tutorial were taken during the creation process for the Living Your Dreams Mala.


